In this article I show you how to setup an EC2 Instance on AWS and install Apache, PHP and MySQL on it.
We will be using Putty to access our AWS server and communicate with it.
- Sign in to your AWS console.
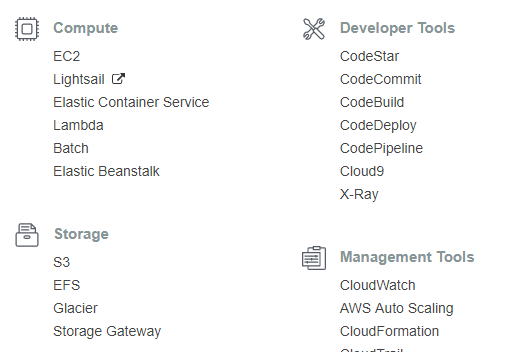
- From the Service select EC2.
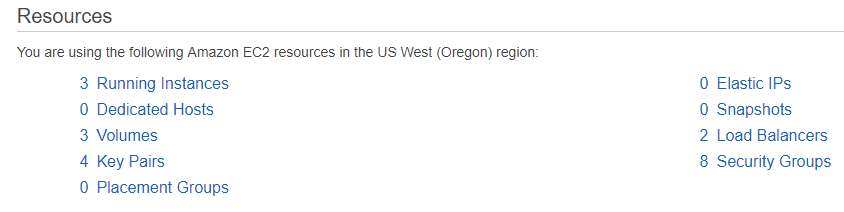
- You will see your Amazon EC2 resources:
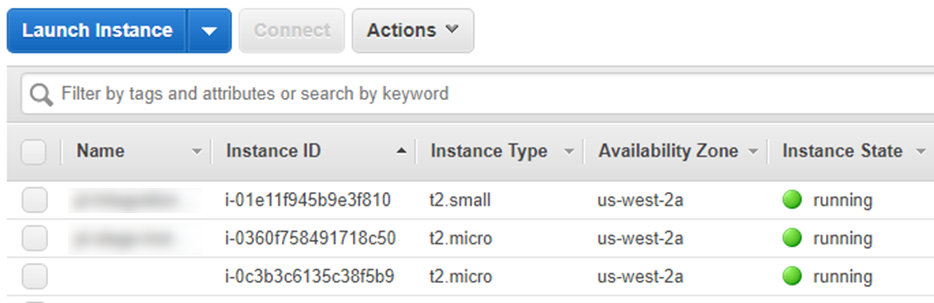
- Click on the Running Instances and you will see your current instances if any:
- Click on the Launch Instance. A list of AMIs (Amazon Machine Image) will appear:

- Select an AMI. For this tutorial we select Amazon Linux AMI 2017.09.01.
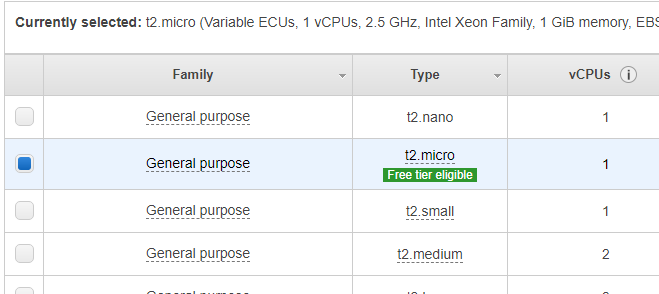
- Choose an instance type: in this tutorial we have selected t2.micro.
- Click on the Next: Configuration Instance Details.
- Configure your instance details.:
- The number of instances: 1 (in future you may want to build an Auto Scaling group where multiple EC2 instances used to deliver and application and you want auto-scaling up or down).
- Network: Launch your instance into an Amazon Virtual Private Cloud (VPC). You can create a VPC and select your own IP address range, create subnets, configure route tables, and configure network gateways. Learn more about Amazon VPC.
- Subnet: A range of IP addresses in your VPC that can be used to isolate different EC2 resources from each other or from the Internet. Each subnet resides in one Availability Zone.
- Auto-assign Public IP: Set to Enabled.
- Tenancy: Shared hardware works fine for our tutorial.

- Click on the Next: Add Storage
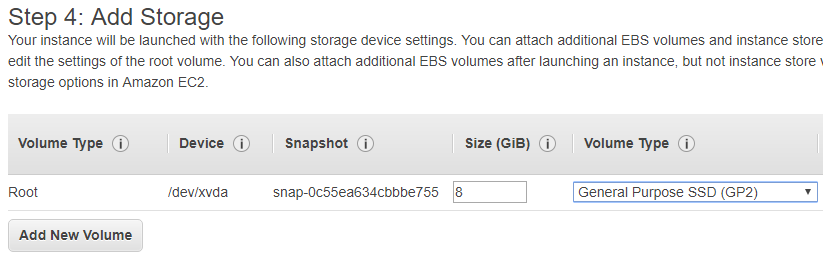
- This is the physical capacity of your instance. If you need more than 8GB, enter the value.
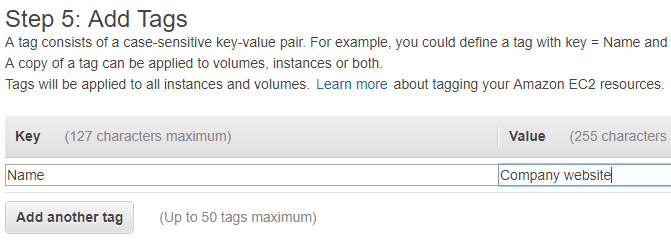
- Click on the Next: Add Tags to continue.

- Enter Name for Key and value could be your instance name.
- Click on the Next: Configure Security Group.

- If already have set up one or more security groups, you can choose from your existing groups, or you can create a new group.
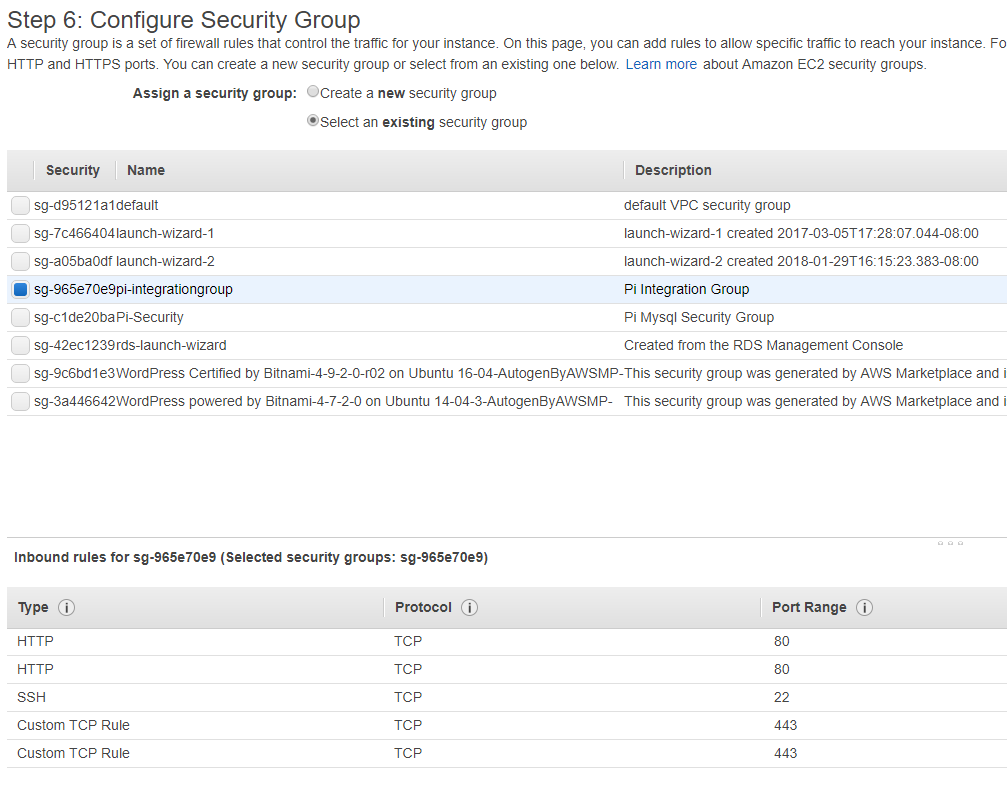
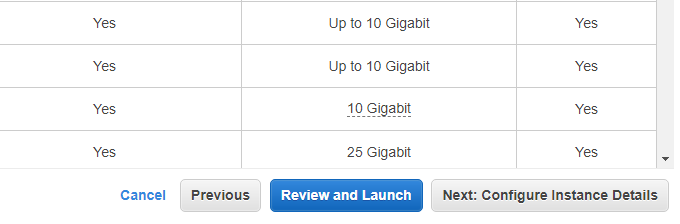
- Click on the Review and Launch

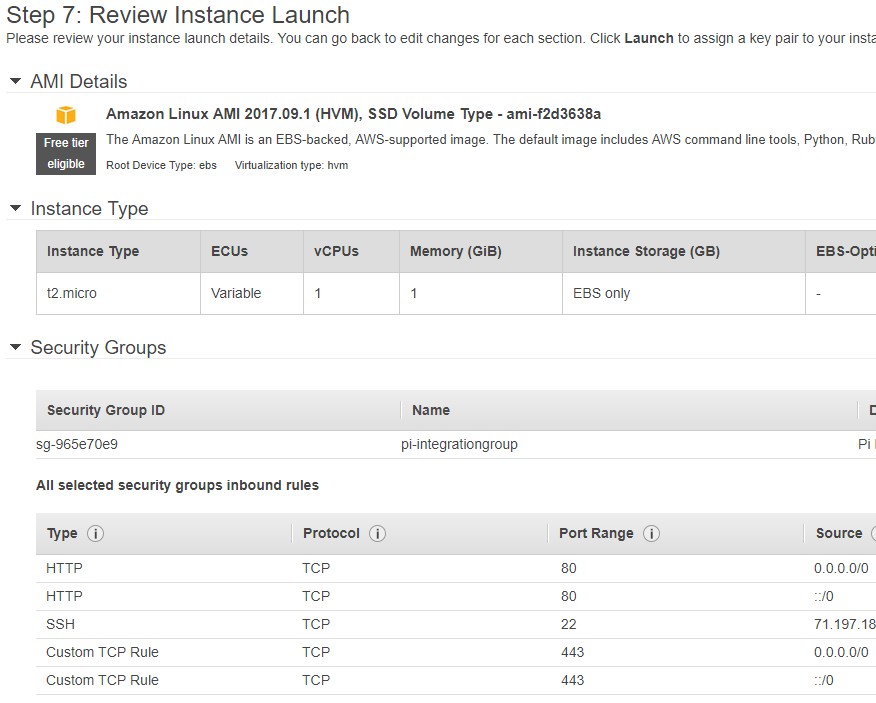
![]()
- Click on the Launch button and select proceed to the next step where you either select an existing key pair or create a new one. A key pair consists of a Public key and a Private Key and you must store them in a safe place. You will use this pair to securely access your instances.

- When ready, click on the Launch Instances.
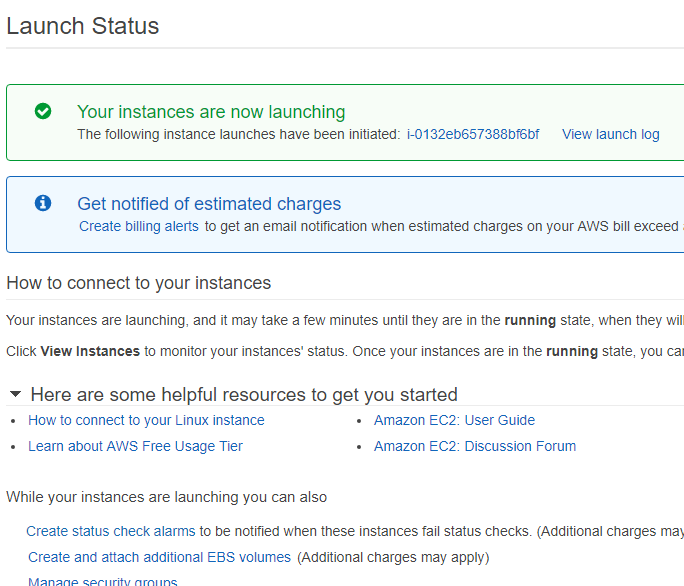

Now that your EC2 Instance is running, we can proceed to the next step. But before I show you how to install a web server (Apache) on your EC2 I need to show you a tool, which we will be using to interact with our instance.
PuTTY
PuTTY is a free and open-source terminal emulator, serial console and network file transfer application. It supports several network protocols, including SCP, SSH, Telnet, rlogin, and raw socket connection. It can also connect to a serial port.
We will be using PuTTY to connect to EC2 via SSH. Download PuTTY and follow the steps below to set it up:
- Start PuTTY

- Select Session from the Category.
- Enter your EC2 public DNS address in the Host Name box and set the port to 22. Your EC2 Public DNS information is under EC2 Instances > Select the Instance > Description> Look for the Public DNS.
Important:
You will need a security Group which includes an inbound of type SSH with protocol TCP on port 22.
- Save your session for the future use, by adding a name in Saved Sessions box and click Save.
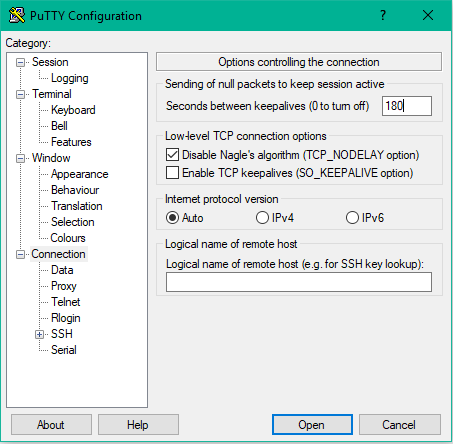
- To keep your connection alive, click on the Connection and enter a value for the Seconds between keepalives. 180 means three minutes time between keepalives.
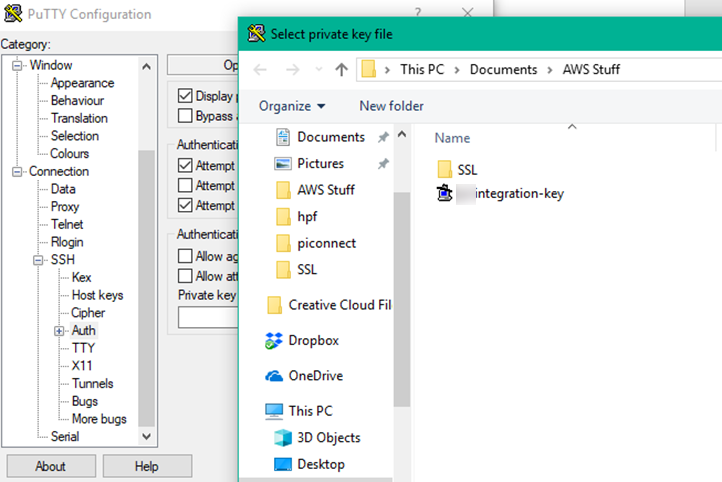
- Now go to SSH and then AUTH.
- Select on Browse and load your Key pair that you saved before.
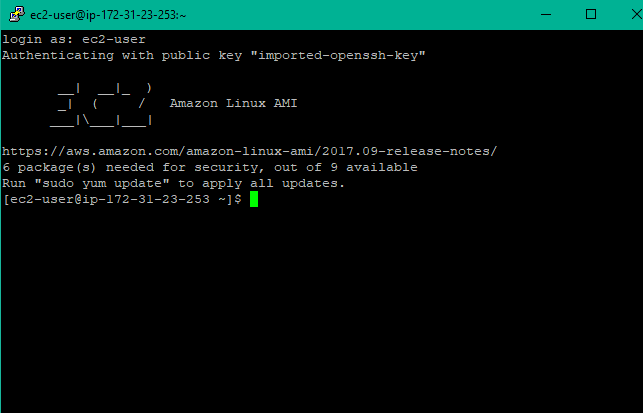
- Now you are ready to open a connection to your Amazon Linux server. Click on the open button.
- You will be prompted to enter your user name. For Amazon Linux the username is ec2-user.

Install an Apache web server with PHP
In this chapter we will install an Apache server on your EC2 instance:
- Connect to the EC2 instance that you created earlier.
- Let’s start by running an update on Amazon Linux to get the latest bug fixes and security updates. Run the following command from your PuTTY command line :
sudo yum update
- After the updates complete, install the Apache webserver with the PHP software package using the yum install command, which installs multiple software packages and related dependencies at the same time. Let’s install PHP 7, MySQL and HHTP 2.4:
sudo yum install -y httpd24 php70 php70-mysqlnd
- Start the webserver:
sudo service httpd start
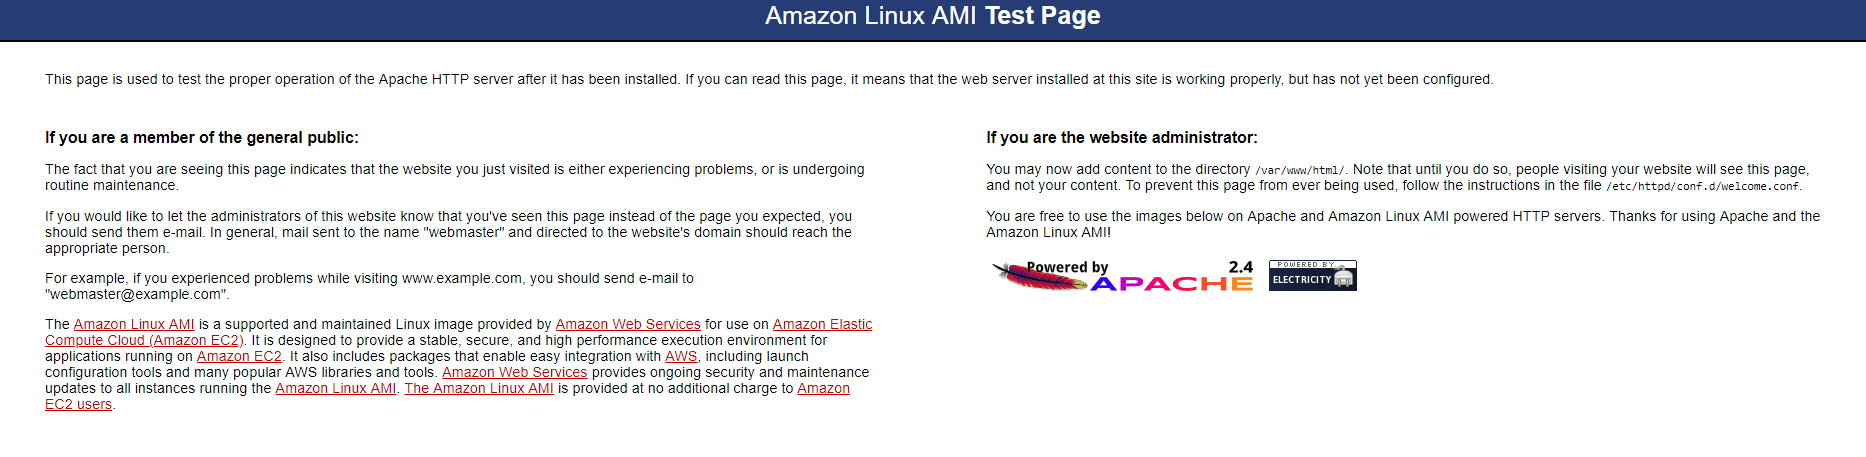
- At this point if you navigate to your Public DNS from your browser, you should Apache test page:
- Let’s set the webserver to start with each system boot:
sudo chkconfig httpd on
- To allow ec2-user to manage files in the default root directory for your Apache web server, you need to modify the ownership and permissions of the /var/www directory. In this tutorial, you add a group named www to your EC2 instance, and then you give that group ownership of the /var/www directory and add write permissions for the group. Any members of that group can then add, delete, and modify files for the web server.
- Next, we add www group to the EC2 instance:
sudo groupadd www
- Add the ec2-user to the www group:
sudo usermod -a -G www ec2-user
- Now, exit to refresh your permissions and include the www group:
exit
- Log back in again and verify that the www group exists:
groups
response should be: ec2-user wheel www
- Change the group ownership of the /var/www directory and its contents to the www group:
sudo chown -R root:www /var/www
- Change the directory permissions of /var/www and its subdirectories to add group write permissions and set the group ID on subdirectories created in the future:
find /var/www -type d -exec sudo chmod 2775 {} +
- Recursively change the permissions for files in the /var/www directory and its subdirectories to add group write permissions:
find /var/www -type f -exec sudo chmod 0664 {} +
Now you are ready to add content to your EC2 instance.
Sudo -s
Will take you to the root.
nano /etc/php-7.0.ini
Opens php.ini for edit.
Edit http server config file:
nano /etc/httpd/conf/httpd.conf


