After successfully integrating into Payguardian Cloud, I decided to continue integrating into Payguradian SDK to deploy ID Tech devices. I chose ID-Tech Augusta for MSR and Chip processing.
Requirements
There are a few things that we need before starting the integration.
1- PayGuardian
To use Payguardin SDK, I needed my BridgePay test merchant account credentials, a compatible device, and also I had to download PayGuardian Cloud SDK. Visit this page.
If you prefer Java programming language, then you have to download PayGuardian Cloud SDK for Java. I downloaded the C# version.
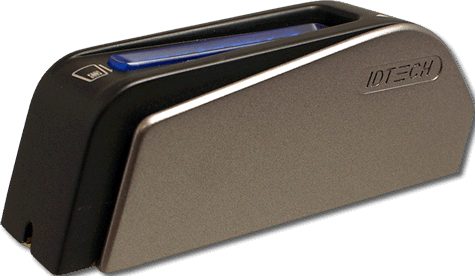
2- Device
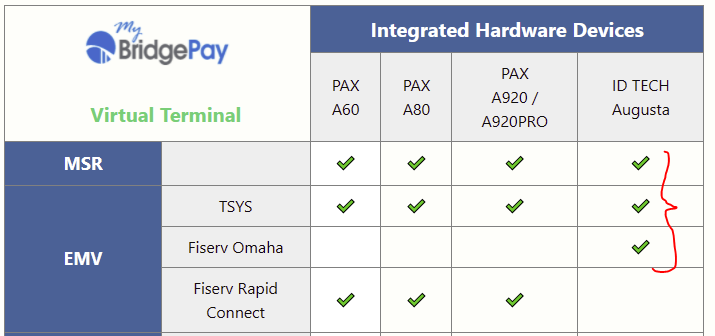
Review the BridgePay Gateway Certified Device Matrix. You will find ID Tech Augusta to be a compatible device to use with PayGuardian Cloud SDK for TSYS and Fiserv Omaha (aka First Data Ohama) as the processor.
Then you will need a correctly encrypted device for BridgePay.
Here you can see a list of device providers.
So, now that I have the encrypted device, BridgePay test merchant account, and downloaded the correct version of PayGuardian Cloud SDK, I’m ready to start.
3- Setup your device
In my case, I used an Augusta device ID Tech. You need to have the correct encryption for your device and make sure it works in Keyboard mode.
If you want to make sure that your device is in keyboard mode, follow these steps:
1- Open Notepad from Windows
2- Connect your device to the USB port
3- Once you see your device in Windows devices, insert a chip card and watch the Notepad. You should see a series of alphanumeric characters start to show up:
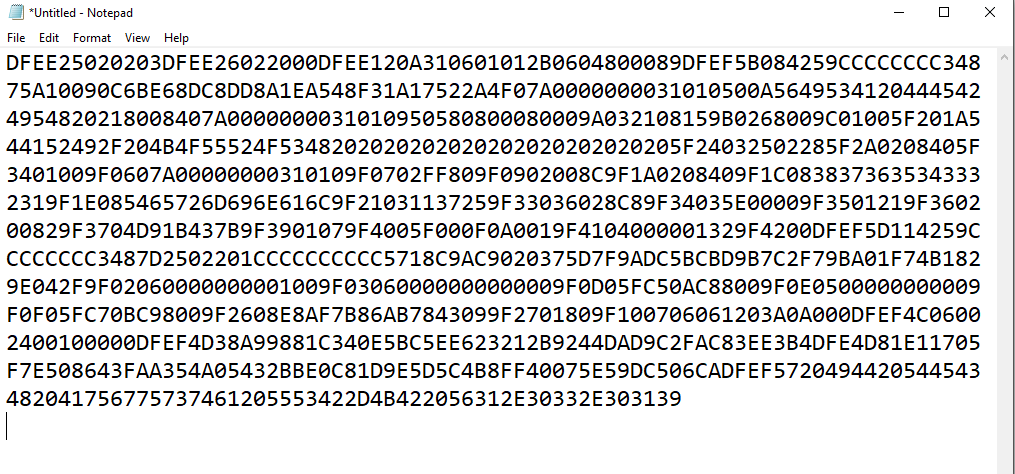
If you see something similar to what you see above, your device is ready.
If your device is not in keyboard mode, your best bet is to contact BridgePay support for help. You will need to load a set of commands into your device, and to do that; it requires a software tool from ID Tech.
4- Install PayGuardian App
I started by installing the PayGuardian App:
Once installation is completed, run the app.
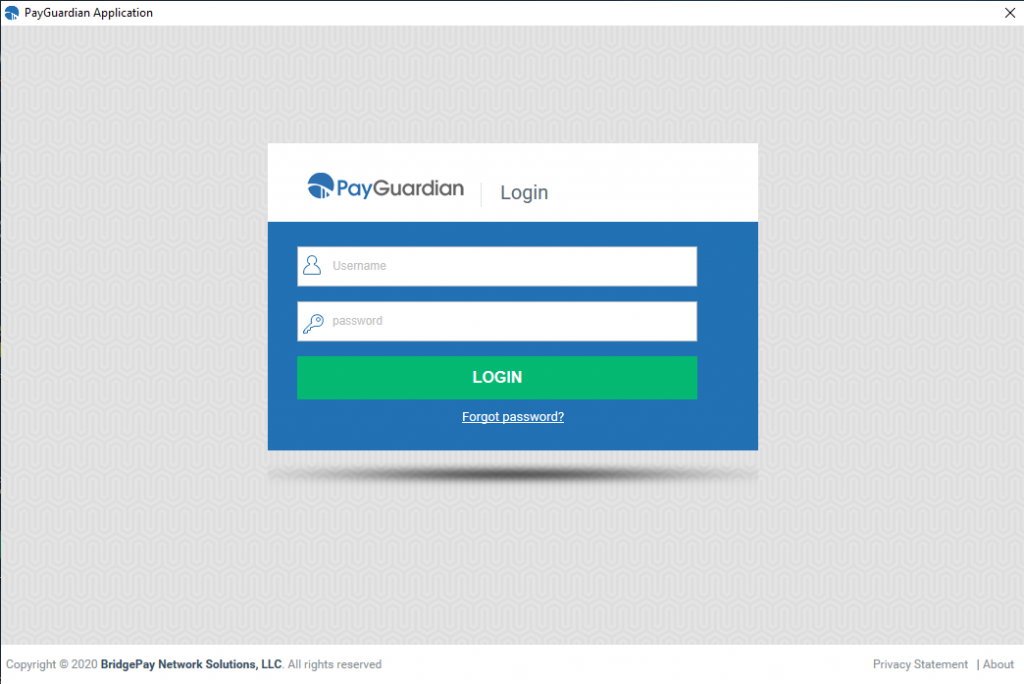
You will need to create an account (username/password) for your application.
Use your credentials to log in to the PayGuardian app.
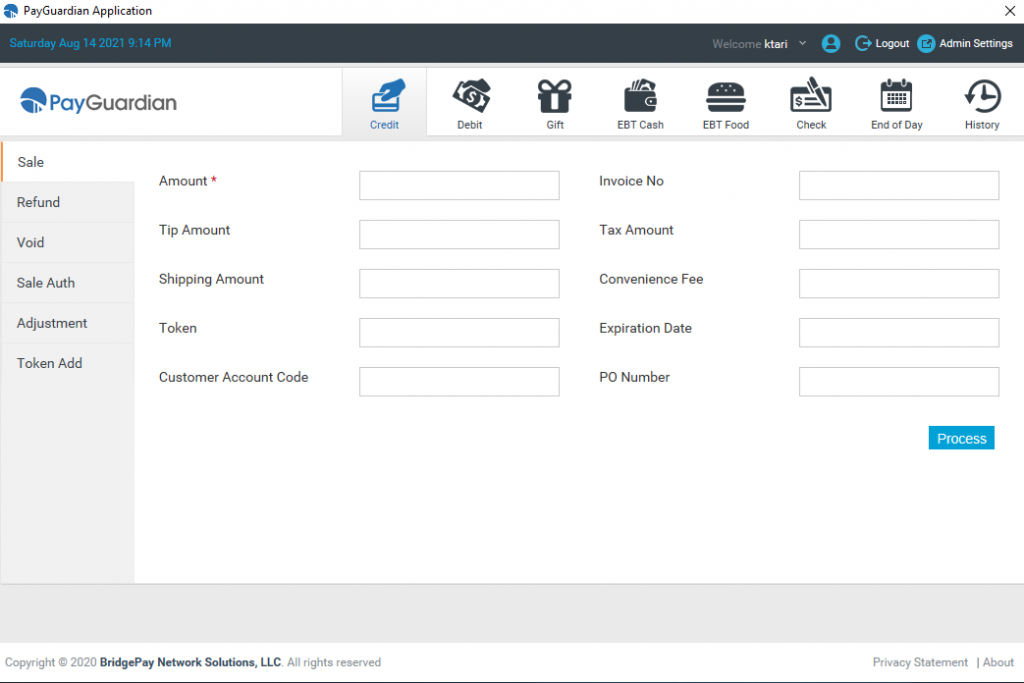
Go over the different tabs in the PayGuardian app and set up your software.

The first transaction
Before starting the integration work, you can use the Virtual Terminal in PayGuardian and run a transaction.
If you successfully processed a virtual terminal transaction, all should be ready to begin the integration.
The Integration
As I mentioned at the beginning of the article, I’m using C# as my programming language.
I started by adding a reference to the payguardian.dll in my code:

Now, I add the new namespace to my code:
using PayGuardian;PayGuardian DLL has one method:
ShowPage();I collect transaction details, such as amount, ticket number, etc., from the POS UI and then use these values to populate the corresponding properties in the PaymentRequest object class. Then I’ll call ShowPage() method.
PaymentPage myPayGuard = new PaymentPage();
PaymentResponse myPayGuardResp = new PaymentResponse();
PaymentRequest myPayGuardReq = new PaymentRequest();
This is a sample Credit Sale PaymentRequest:
myPayGuardReq.Amount = 1.00;
myPayGuardReq.InvNum = 100;
myPayGuardReq.softwareVendor = "POS Software";
myPayGuardReq.TransType = TransType.SALE;
Set the request:
myPayGuard.PaymentRequest = myPayGuardReq;Call the method:
ShowPageResult result = myPayGuard.ShowPage();Receive the response:
myPayGuardResp = myPayGuard.PaymentResponse;I have an object class, which I want to return to the calling module of the POS. So, I use the response from the PayGuardian to populate my object properties:
Reset the object:
pg.Clear();Populate properties:
pg.ApprovedAmount = myPayGuardResp.ApprovedAmount;
pg.AuthCode = myPayGuardResp.AuthCode;
pg.AvsResponse = myPayGuardResp.AvsResponse;
pg.AccountNum = myPayGuardResp.BogusAccountNumber
pg.Aid = myPayGuardResp.chipCardAID;
pg.AmountDue = myPayGuardResp.RemainingAmount;
pg.AppLab = myPayGuardResp.appLabel;
pg.ApprovedAmount = myPayGuardResp.ApprovedAmount;
pg.Atc = myPayGuardResp.ATC;
pg.CardHolder = myPayGuardResp.CardHolderName;
pg.CardType = myPayGuardResp.CardType;
pg.CvResponse = myPayGuardResp.CvResponse;
pg.EntryMode = myPayGuardResp.entryMode;
pg.ExpDate = myPayGuardResp.ExpirationDate;
pg.ExtraBalance = myPayGuardResp.RemainingBalance;
pg.HostCode = myPayGuardResp.HostCode;
pg.HostResponse = myPayGuardResp.HostResponse;
pg.RefNum = myPayGuardResp.RefNum;
pg.ResponseCode = myPayGuardResp.ResultCode;
pg.ResponseMsg = myPayGuardResp.ResultTxt;
pg.TicketID = myPayGuardResp.InvNum;
pg.Timestamp = myPayGuardResp.Timestamp;
pg.TipAmount = myPayGuardResp.TipAmount;
pg.Token = myPayGuardResp.Token;
The next code snippet shows how I capture the transaction result:
switch (pg.ResponseCode)
			{
				case "0":
					pg.TransactionResult = true;
					MessageBox.Show("Approved!");
					break;
				case "1":
					pg.TransactionResult = false;
					MessageBox.Show("Canceled");
					break;
				case "2":
					pg.TransactionResult = false;
					MessageBox.Show("Transaction Error : " + pg.ResponseMsg);
					break;
				case "30023":
					pg.TransactionResult = false;
					MessageBox.Show("Denied by customer bank : " + pg.ResponseMsg);
					break;
			}
After capturing the response, we can use the values to communicate back to the user and provide the transaction results and details.
All in all, PayGuardian Cloud SDK integration is straightforward, and I believe you can get it done in a couple of hours.
Things to remember
As I went through the integration and testing, I noticed a few details, which worth mentioning here:
1- When you run a SALE transaction and then a VOID to remove it, the VOID does not populate all properties of the response object.
For instance, you will not be getting a new reference number. The VOID returns the same original reference number that you received from the SALE transaction. The response also lacks Card type, the card’s last four digits, and several other properties.
So, if you rely on the response object to populate a database of some sort, you will need to pull the missing values from your original SALE transaction. The same is true for SALE_AUTH followed by a CAPTURE transaction.
2- If you send the tip amount along with the transaction amount, the math works like the following:
Ticket amount = Amount - TipFor example, if you send an amount of $50.00 and a tip amount of $5.00, PayGuardian assumes you want to collect $45.00 for the ticket amount and $5.00 for the tip.
3- There are at least The following properties in the response object:
- RequestedAmount
- SubmittedAmount
- ApprovedAmount
- TotalAmount
So, you have to make sure to capture all values and use them as you need them.
For example, when you send a CAPTURE transaction following a SALE_AUTH, the response object does not have a value for the ApprovedAmount.
First, I send a SALE_AUTH transaction, and here is the response from the PayGuardian. You can see that all three amount properties are populated:
{
  "resultCode": "0",
  "resultTxt": "Successful Request",
  "message": "A01 - Approved (APPROVAL 066841)",
  "message1": null,
  "message2": null,
  "refNum": "13369874202",
  "authCode": "066841",
  "avsResponse": "40",
  "cvResponse": "",
  "timestamp": null,
  "hostCode": null,
  "requestedAmount": "0.01",
  "submittedAmount": "0.01",
  "tipAmount": "0.00",
  "cashBackAmount": "0.00",
  "approvedAmount": "0.01",
  "remainingBalance": null,
  "hostResponse": null,
  "bogusAccountNumber": "4***********3487",
  "cardType": "Visa",
  "isCommercialCard": false,
  "extData": {
    "signatureResponse": null,
    "receiptTagData": {
      "maskedCard": "4***********3487",
      "chipCardAID": "A0000000031010",
      "cvm": null,
      "ATC": null,
      "TC": null,
      "invoice": "10",
      "seq": "",
      "authCode": "066841",
      "entryMethod": "Chip_Read",
      "totalAmount": "0.01",
      "appLabel": null
    },
    "customerInfo": null
  },
  "rawResponse": null,
  "token": "70034766363487",
  "expirationDate": "****",
  "gatewayMessage": "A01 - Approved (APPROVAL 066841)",
  "internalMessage": "Approved: 066841 (approval code)",
  "providerResponseCode": "00",
  "providerResponseMessage": "APPROVAL 066841 ",
  "gatewayResult": null,
  "aVSMessage": "Address not available (Address not verified)",
  "cVMessage": "",
  "transactionCode": null,
  "remainingAmount": null,
  "isoCountryCode": "840",
  "isoCurrencyCode": null,
  "isoRequestDate": "2021-08-15 12:27:47.283",
  "NetworkReferenceNumber": "",
  "merchantCategoryCode": "5813",
  "networkMerchantId": "********9613",
  "networkTerminalId": "0022",
  "responseTypeDescription": null,
  "streetMatchMessage": null,
  "receiptTagData": null,
  "issuerTagData": null,
  "tokenResponse": null,
  "chipCardAID": null,
  "entryMethod": null,
  "ATC": null,
  "appLabel": null,
  "transactionID": null,
  "tenderType": "CREDIT",
  "entryMode": "Chip_Read",
  "InvNum": "10",
  "CustomerAccountCode": null,
  "serviceFeeResult": null,
  "TransIndustryType": null,
  "forceOnDuplicate": null,
  "zip": "",
  "cardClass": "Credit",
  "cardModifier": "None",
  "cardHolderName": "KOUROSH TARI",
  "paymentLineText": null,
  "totalLineText": "Total............. $0.01",
  "feeLineText": null,
  "customFields": "",
  "poNum": "",
  "WalletID": "",
  "WalletPaymentMethodID": null,
  "WalletResponseCode": "",
  "WalletResponseMessage": "",
  "AuthenticationTokenId": null,
  "RawReceipt": null
}
Now, I run the CAPTURE, and the response looks like this:
{
  "resultCode": "0",
  "resultTxt": "Successful Request",
  "message": "A01 - Approved (APPROVAL 066841)",
  "message1": null,
  "message2": null,
  "refNum": "13369874202",
  "authCode": null,
  "avsResponse": null,
  "cvResponse": null,
  "timestamp": null,
  "hostCode": null,
  "requestedAmount": "0.01",
  "submittedAmount": "0.01",
  "tipAmount": null,
  "cashBackAmount": "0.00",
  "approvedAmount": null,
  "remainingBalance": null,
  "hostResponse": null,
  "bogusAccountNumber": null,
  "cardType": null,
  "isCommercialCard": false,
  "extData": {
    "signatureResponse": null,
    "receiptTagData": null,
    "customerInfo": null
  },
  "rawResponse": null,
  "token": null,
  "expirationDate": null,
  "gatewayMessage": "A01 - Approved (APPROVAL 066841)",
  "internalMessage": null,
  "providerResponseCode": "",
  "providerResponseMessage": "",
  "gatewayResult": null,
  "aVSMessage": null,
  "cVMessage": null,
  "transactionCode": null,
  "remainingAmount": null,
  "isoCountryCode": null,
  "isoCurrencyCode": null,
  "isoRequestDate": null,
  "NetworkReferenceNumber": null,
  "merchantCategoryCode": null,
  "networkMerchantId": null,
  "networkTerminalId": "0001",
  "responseTypeDescription": null,
  "streetMatchMessage": null,
  "receiptTagData": null,
  "issuerTagData": null,
  "tokenResponse": null,
  "chipCardAID": null,
  "entryMethod": null,
  "ATC": null,
  "appLabel": null,
  "transactionID": null,
  "tenderType": "CREDIT",
  "entryMode": null,
  "InvNum": "10",
  "CustomerAccountCode": null,
  "serviceFeeResult": null,
  "TransIndustryType": null,
  "forceOnDuplicate": null,
  "zip": null,
  "cardClass": "",
  "cardModifier": "",
  "cardHolderName": "",
  "paymentLineText": null,
  "totalLineText": "Total............. $0.01",
  "feeLineText": null,
  "customFields": "",
  "poNum": null,
  "WalletID": null,
  "WalletPaymentMethodID": null,
  "WalletResponseCode": null,
  "WalletResponseMessage": null,
  "AuthenticationTokenId": null,
  "RawReceipt": null
}
As you can see, the ApproveAmount is null.
4- Variable types
As obvious as it may seem, I wanted to point out that all fields in both request and response object classes are of the string type.
Make sure to use the proper type of conversions when you send and receive any property value.
Last words
PayGUardian Cloud SDK integration is not complicated at all. You have to make sure to review the PayGuardian Developer Guide and pay attention to the details.
For more information about BridgePay contact Carlee at: sales@bridgepaynetwork.com
For more information about ID-Tech devices contact Amir Truth at: Amir.Truth@idtechproducts.com
CodeProject